今回はAutoCompleteを自作する第4回で最終回です。前の記事からの続きとなります。まだ見てない方はこちらから。
WEBシステムで入力フォームを作っている際に必ずと言ってもいいほど必要になるの「AutoComplete(Suggest)」の機能を自作していきます。Vue.jsの学習をしながら段階的にAutoCompleteの機能を作っていきます。
完成ページ
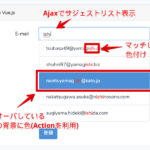
見た目としては第3回と同じです。
今まではパラメータをemailとして固定していましたが、Laravelから再利用しやすいようにコンポーネントとして自由にパラメータを渡せるようにします。
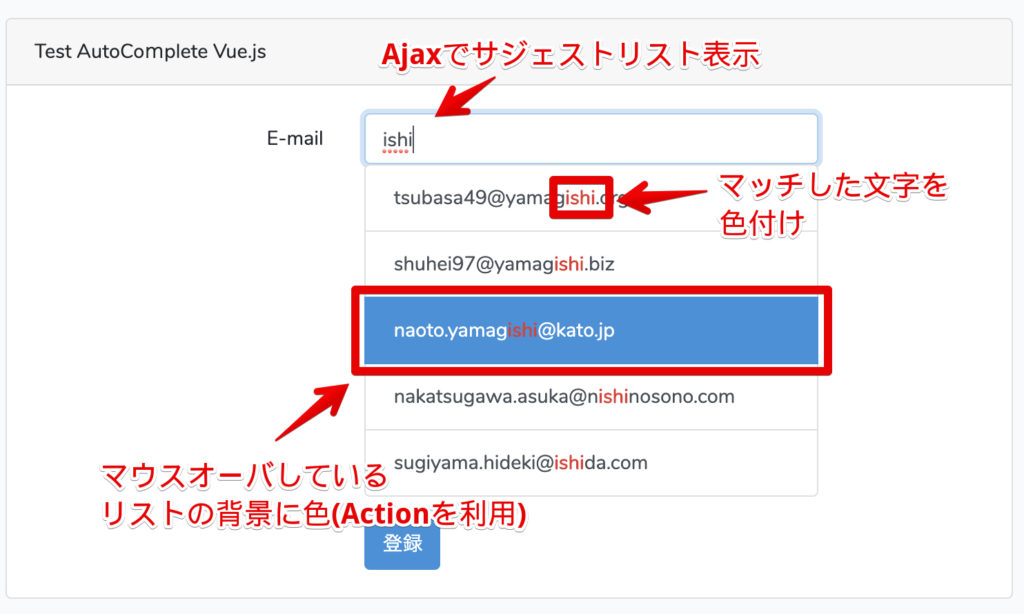
Laravelから再利用がしやすいようにする
Laravelビューから値を渡す
第1回で作成したcreateビューからAutoCompleteComponentへ値を渡します。以下の様にファイルを修正します。
resources/views/create.blade.php
<auto-complete-component param="email" url="/search/email" />AutoCompleteコンポーネントの修正
次にVueコンポーネントを修正します。最終的なコードは以下となります。
resources/js/components/AutoCompleteComponent.vue
<template>
    <div>
        <input
            type="text"
            placeholder="what are you looking for?"
            v-model="query"
            class="form-control"
            autocomplete="off"
            :name="param"
            @input="getSuggestionList"
            @change="change"
            @focus="open = true"
            @keydown.down="down"
            @keydown.up="up"
            @keydown.enter="enter"
        />
        <div class="panel-footer" v-if="results.length && open">
            <ul class="list-group">
                <li
                    v-for="(result, index) in results"
                    v-bind:key="result.index"
                    v-bind:class="{ active: index === current }"
                    class="list-group-item list-group-item-action"
                    @click="suggestionClick(index)"
                    @mouseover="mouseOver(index)"
                    v-html="stringMatchHighLight(result[param])"
                ></li>
            </ul>
        </div>
    </div>
</template>

<script>
export default {
    props: {
        param: {
            type: String,
            required: true
        },
        url: {
            type: String,
            required: true
        }
    },
    data: function() {
        return {
            query: "",
            results: [],
            open: false,
            current: 0
        };
    },
    methods: {
        getSuggestionList() {
            this.results = [];
            console.log(this.query);
            console.log(this.query.length);
            if (this.query.length >= 1) {
                axios
                    .get(this.url, {
                        params: { query: this.query }
                    })
                    .then(Response => {
                        this.results = Response.data;
                        if (this.results) {
                            this.open = true;
                        }
                        console.log(this.results);
                    })
                    .catch(error => {
                        console.log(error);
                    });
            }
        },

        //When mouseover
        mouseOver: function(index) {
            this.current = index;
            this.isActive = true;
        },

        //When up pressed while suggestions are open
        up() {
            console.log("up");
            if (this.current > 0) this.current--;
        },

        //When down pressed while suggestions are open
        down() {
            console.log("down");
            if (this.current < this.results.length - 1) this.current++;
        },

        //When the query change
        change() {
            if (this.open == false) {
                this.open = true;
                this.current = 0;
            }
        },

        //When the press enter
        enter() {
            console.log("enter");
            if (this.results[this.current]) {
                console.log("aaaa-" + this.results[this.current]);
                this.query = this.results[this.current][this.param];
                this.results = this.results[this.current];
                this.open = false;
                this.current = 0;
            }
        },

        //When one of the suggestion is clicked
        suggestionClick(index) {
            // alert(index);
            this.query = this.results[index][this.param];
            this.open = false;
            this.current = 0;
            this.results = this.results[index];
        },

        //Highlight the matched string
        stringMatchHighLight(str) {
            if (!this.query) {
                return str;
            }
            return str.replace(
                this.query,
                '<span class="text-danger"><b>' + this.query + "</b></span>"
            );
        },
    }
};
</script>
動作確認
動作を確認してみましょう。npm run devを実施してからアクセスして下さい。見た目としては今までと同じです。
解説
それでは解説していきます。
Vueコンポーネントへの値を渡す
Laravel側からサジェストするパラメータ(email)とAjaxで利用するurl(/search/email)を渡しています。関連する部分は以下です。
単純に渡された値をVueコンポーネント側でpropsで受け取っているだけです。
<auto-complete-component param="email" url="/search/email" />

props: {
    param: {
        type: String,
        required: true
    },
    url: {
        type: String,
        required: true
    }
},
Propsの値を変数として利用する
ここで渡された値をVue.jsの内部で利用します。
urlについてはそのまま利用しているだけですので解説は省略します。
ポイントとなるのはparamです。このparamを配列のキーの変数として渡す必要があります。
配列のキーの変数として使うには鍵カッコ[]を利用します。それに関連して変更している部分は以下になります。これはJavascriptの作法です。
:name="param"
v-html="stringMatchHighLight(result[param])"
this.query = this.results[this.current][this.param];
this.query = this.results[index][this.param];
第4回(最終回)まとめ
LaravelからパラメータやURLをVue側に渡すことができるようになったことで再利用がしやすくなりました。他にもカスタマイズしたい項目などがあれば機能を追加することができます。
今回で最後となります。見ていただいた方はありがとうございました。
以上となります。













コメント