


Windows10 にPythonをインストールする手順についてのメモです。
今回はWindows10の開発版(64bit)へPythonの64bit版をインストールしました。
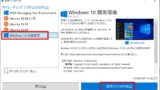
試した環境
今回は開発環境として、Hyper-V上のWindows10開発環境の仮想マシンに対してPythonをインストールしてみます。
以下で作成した仮想マシンになります。
Pythonのインストール
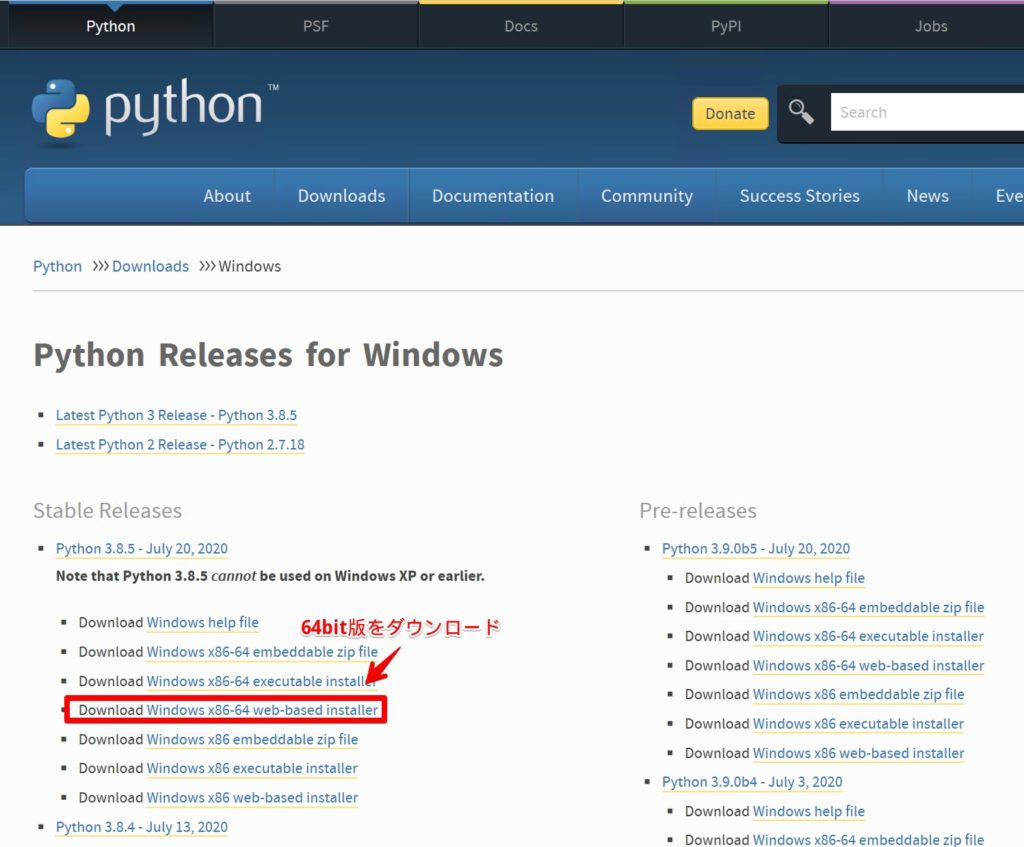
以下のPythonオフィシャルサイトから、Pythonのインストーラーをダウンロードします。
Python Releases for Windows
The official home of the Python Programming Language
www.python.org
今回はWindowsの64bit版のPythonをインストールするので、「Windows x86-64 web-based installer」をダウンロードします。
Pythonのインストール
ダウンロードしたインストーラをダブルクリックします。
注意ですが「Add Python 3.8 to Path」をチェックして下さい。チェックしないとあとで手動でPathを追加する必要があります。
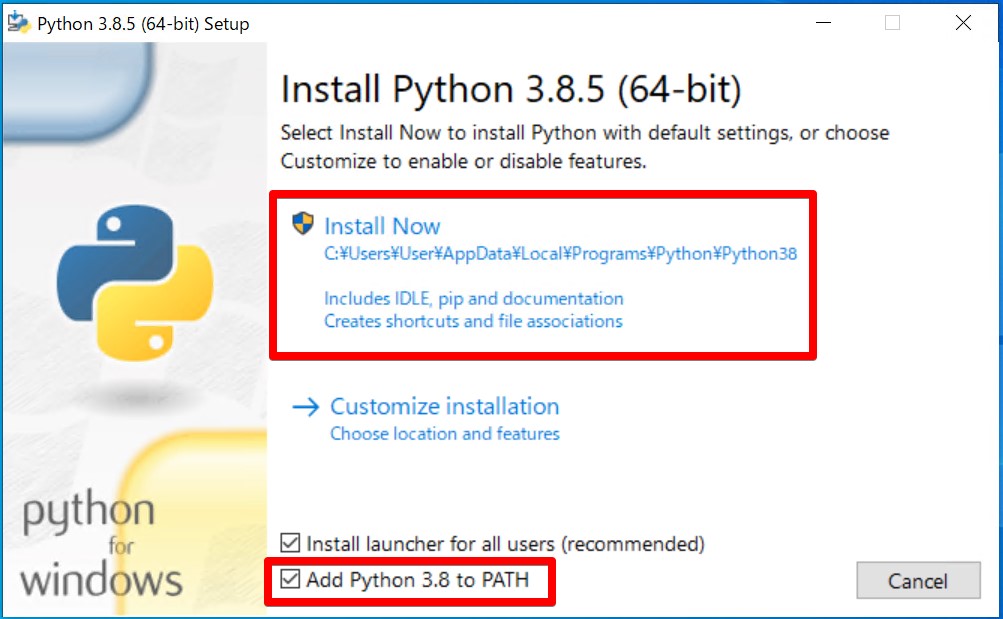
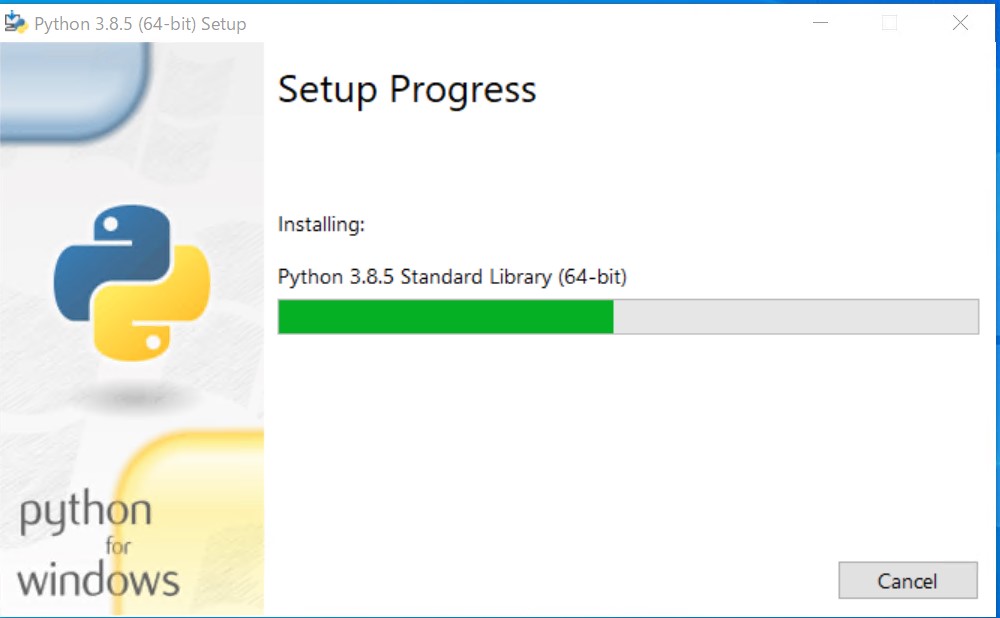

これでPythonのインストールは完了です。
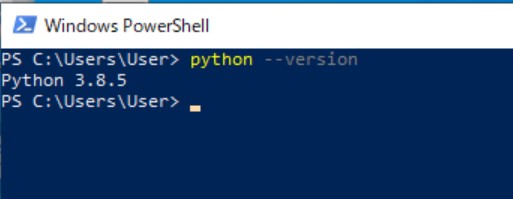
インストール確認
正常にインストールされていることを確認します。
Powershellプロンプトを開いて「python –version」と打ってみて下さい。バージョンが表示されれば正常にインストールされています。
今回は以上となります。
コメント