

AWS Cloud Development Kit(AWS CDK)を使うことでAWS上のリソースをコードで構築することができます。
通常はCloudFormationというサービスを使ってコード化します。ただ、CloudFormationを使うにはCloudFormationのTemplateを作成する作法などを覚えないといけます。
AWS CDKを使うことで普段から使い慣れているPythonなどプログラム言語を使ってを自動的にAWS CloudFormationを介してプロビジョニングすることができます。
対応言語はTypeScript, JavaScript, Python, Java, C#, .NETなどあり、対応言語もどんどん増えています。

AWS Cloud Development Kit (AWS CDK) は、使い慣れたプログラミング言語を使用してクラウドアプリケーションリソースを定義するためのオープンソースのソフトウェア開発フレームワークです。
今回はPythonを使用して、簡単にS3バケットを構築してみます。
AWS CDKのインストール
AWS CDKをインストールするために必要となるツール類をインストールする必要があります。
AWS CLIをインストールする
AWSのCLIをインストールします。以下の記事を参考にしてください。

Nodeをインストールする
nodejsをインストールします。以下の記事を参考にしてください。
AWS CDKをインストールする
ここまでくればAWS CDKはnpmコマンドから簡単にインストールすることがします。
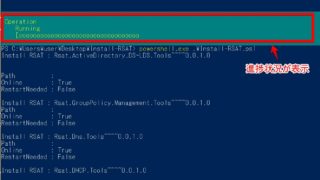
インストールが終わったらcdkコマンドが使えることを確認します。
PS C:\Users\user> npm install -g aws-cdk
PS C:\Users\user> cdk --version
1.84.0 (build 866c8dc)
AWSユーザーを作成する
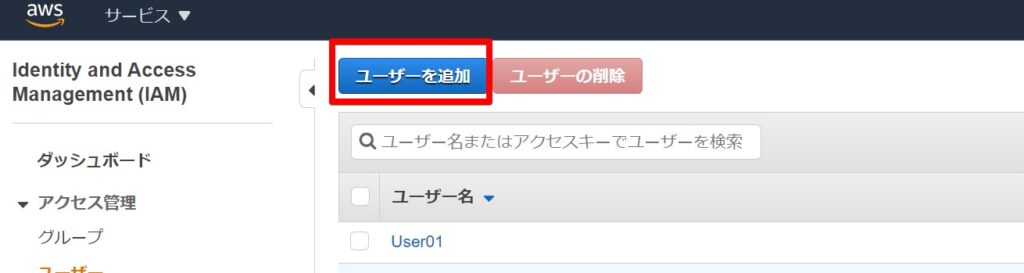
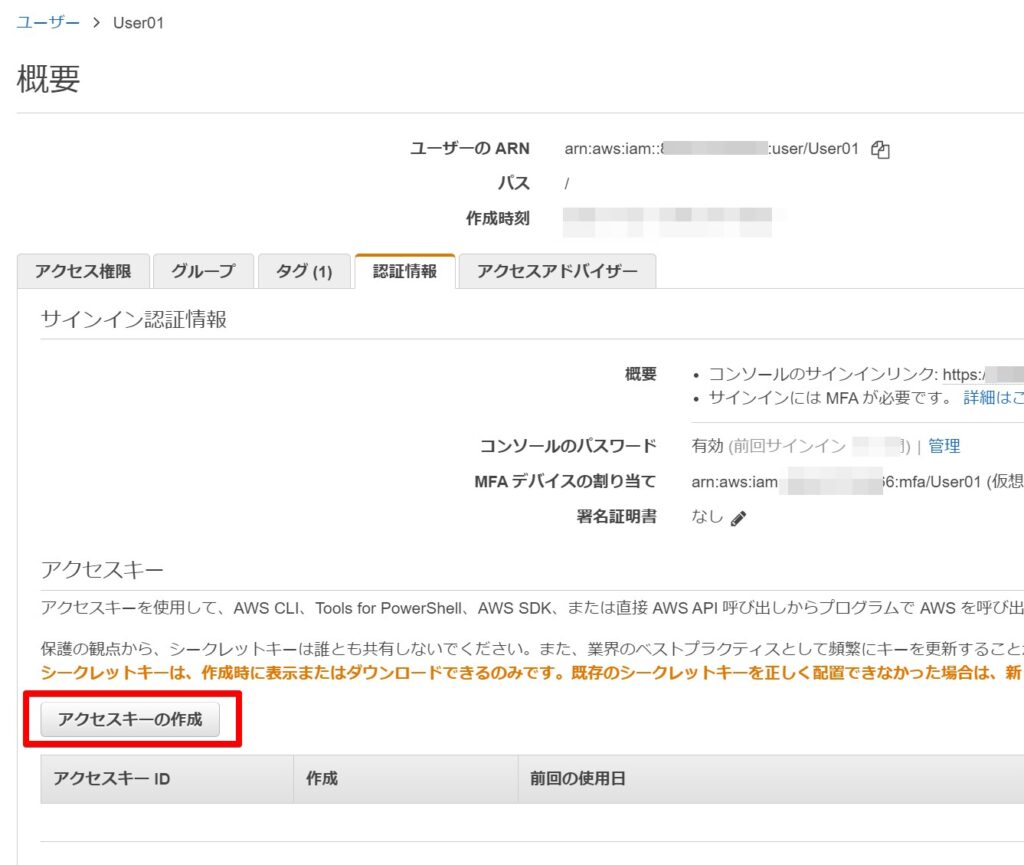
aws cdkを使うには「プログラムによるアクセス」を許可したIAMユーザが必要なため、初めにマネコン経由でIAMユーザを作成します。
私は事前に作成していたUser01を使います。
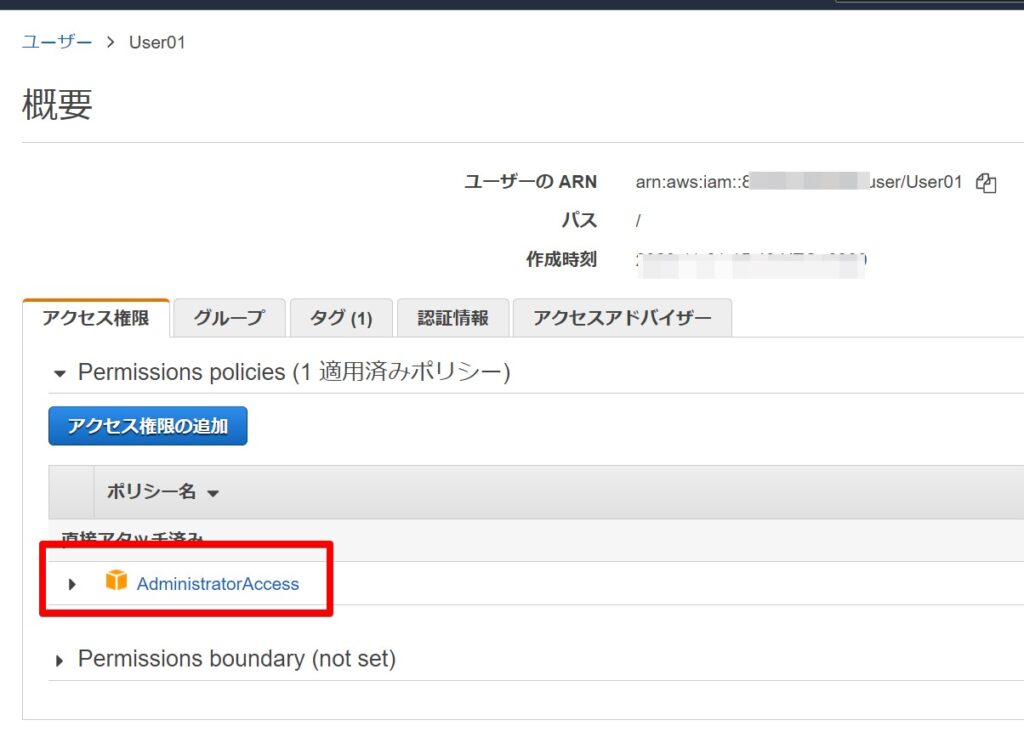
アクセス権限として今回はAdministratorを付与しています。ここら辺は適切に設定ください。
アクセスキーについても作成します。
aws configureコマンドでAWS CLIを実行するユーザとして設定します。
PS C:\Users\user> aws configure
AWS Access Key ID [****************M2PY]:
AWS Secret Access Key [****************BGMJ]:
Default region name [ap-northeast-1]:
Default output format [json]:
AWS CDKプロジェクトを作成する
AWS CDKのインストールができたらプロジェクトを作成して実際にコードを書いてきます。
プロジェクトを初期化する
適当なフォルダを作成して、そのフォルダ内で初期化を行います。
※テンプレートはapp, lib, sample-appのいずれかを指定します。cdkアプリケーションを作成したい場合はappを指定します。
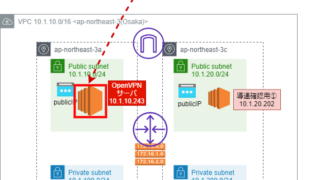
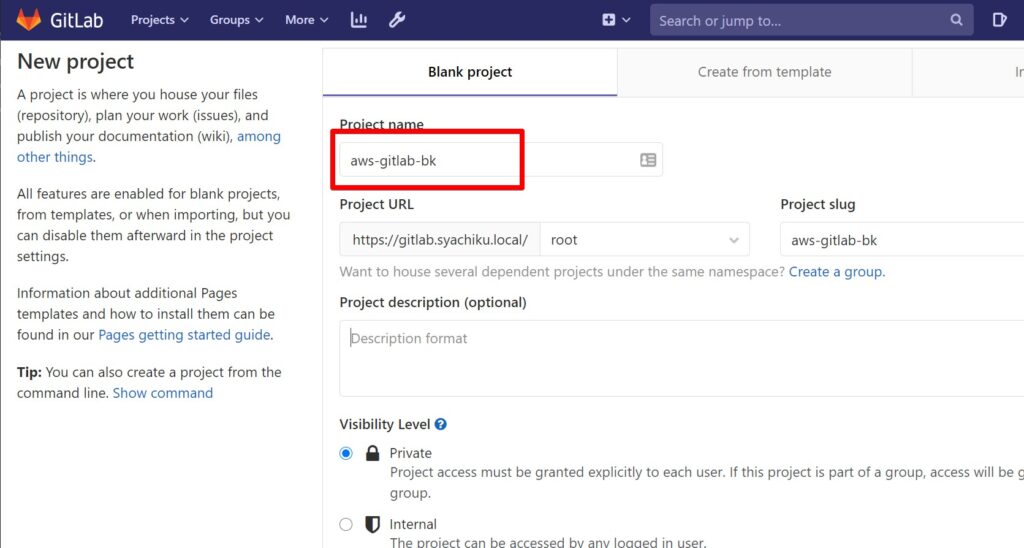
今回はGitlabのバックアップをS3にとる、というリソースを作るので「aws-gitlab-bk」というプロジェクトを作成します。
> mkdir C:\Project\aws-gitlab-bk
> cd C:\Project\aws-gitlab-bk

PS C:\Project\aws-gitlab-bk> cdk init app --language=python
Applying project template app for python

# Welcome to your CDK Python project!

This is a blank project for Python development with CDK.

The `cdk.json` file tells the CDK Toolkit how to execute your app.

This project is set up like a standard Python project.  The initialization
process also creates a virtualenv within this project, stored under the `.venv`
directory.  To create the virtualenv it assumes that there is a `python3`
(or `python` for Windows) executable in your path with access to the `venv`
package. If for any reason the automatic creation of the virtualenv fails,
you can create the virtualenv manually.

To manually create a virtualenv on MacOS and Linux:

```
$ python -m venv .venv
```

After the init process completes and the virtualenv is created, you can use the following
step to activate your virtualenv.

```
$ source .venv/bin/activate
```

If you are a Windows platform, you would activate the virtualenv like this:

```
% .venv\Scripts\activate.bat
```

Once the virtualenv is activated, you can install the required dependencies.

```
$ pip install -r requirements.txt
```

At this point you can now synthesize the CloudFormation template for this code.

```
$ cdk synth
```

To add additional dependencies, for example other CDK libraries, just add
them to your `setup.py` file and rerun the `pip install -r requirements.txt`
command.

## Useful commands

 * `cdk ls`          list all stacks in the app
 * `cdk synth`       emits the synthesized CloudFormation template
 * `cdk deploy`      deploy this stack to your default AWS account/region
 * `cdk diff`        compare deployed stack with current state
 * `cdk docs`        open CDK documentation

Enjoy!

Initializing a new git repository...
warning: LF will be replaced by CRLF in .gitignore.
The file will have its original line endings in your working directory
warning: LF will be replaced by CRLF in README.md.
The file will have its original line endings in your working directory
warning: LF will be replaced by CRLF in app.py.
The file will have its original line endings in your working directory
warning: LF will be replaced by CRLF in aws_gitlab_bk/aws_gitlab_bk_stack.py.
The file will have its original line endings in your working directory
warning: LF will be replaced by CRLF in cdk.json.
The file will have its original line endings in your working directory
warning: LF will be replaced by CRLF in requirements.txt.
The file will have its original line endings in your working directory
warning: LF will be replaced by CRLF in setup.py.
The file will have its original line endings in your working directory
warning: LF will be replaced by CRLF in source.bat.
The file will have its original line endings in your working directory
Please run 'python -m venv .venv'!
Executing Creating virtualenv...
✅ All done!
PS C:\Project\aws-gitlab-bk>
次にここで表示されるコマンドに従って実行していきます。
> python -m venv .venv
> .venv\Scripts\activate.bat
> pip install -r requirements.txt
> cdk synth
VSCodeで開いてみます、初期化されたファイル類が作成されています。
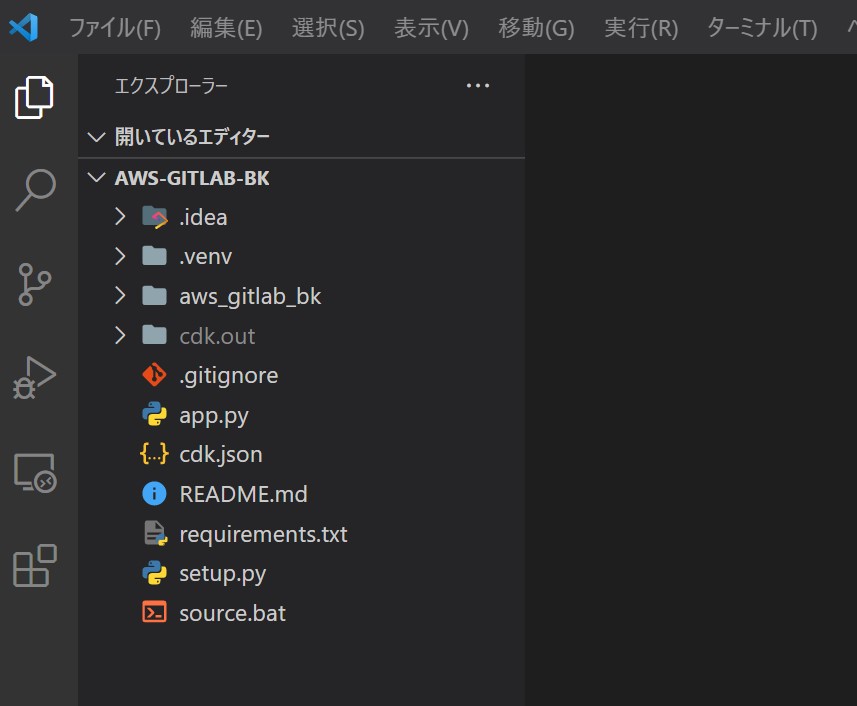
とりあえずGitに登録するように設定します(私の場合はGitlabでプロジェクト作って登録)
git init
git remote add origin https://gitlab.syachiku.local/root/aws-gitlab-bk.git
git add .
git commit -m "Initial commit"
git push -u origin master
AWS CDKで使うファイル
作成されたAWS CDKで使う主なファイルは以下です。
aws_gitlab_bk_stack.py
メインスタックを定義するファイルです。このファイルを編集して構築します。
cdk.json
ツールキットにアプリの実行方法を指示するところ
CDKで使用するコマンド
CDKで使用するコマンドは以下となります。
// CDKプロジェクト作成
cdk init [テンプレート]
// スタック一覧表示
cdk ls
// AWS CloudFormationテンプレートの作成
cdk synth
// ブートストラップ,アプリを初めてデプロイする際に使う
cdk bootstrap

// ***ここからよく使うコマンド***
// 差分確認
cdk diff
// Deploy
cdk deploy
// 削除
cdk destroy
AWS CDKでコードを書く
ここまでで少し長くなってしまったので、次回に続きます。
Pythonのオススメ勉強方法
私がオススメするPython初心者向けの最初に購入すべき書籍は「シリコンバレー一流プログラマーが教える Pythonプロフェッショナル大全」です。
シリコンバレー一流プログラマーが教える Pythonプロフェッショナル大全

この書籍は実際にシリコンバレーの一流エンジニアとして活躍している酒井潤さんが書いた本です。
内容も初心者から上級者までまとめられており、各Lessonも長すぎずに分かりやすくまとめられているので、初心者の方にもおすすめです。
シリコンバレー一流プログラマーが教える Pythonプロフェッショナル大全
今回は以上となります。
コメント