


インフラCI実践ガイドの演習について引き続き試してみます。今回は4章となります。

前の記事でテスト環境の構築まで実施してます。この続きです。

4.1 演習環境の確認
4.1.1 GitLabの設定
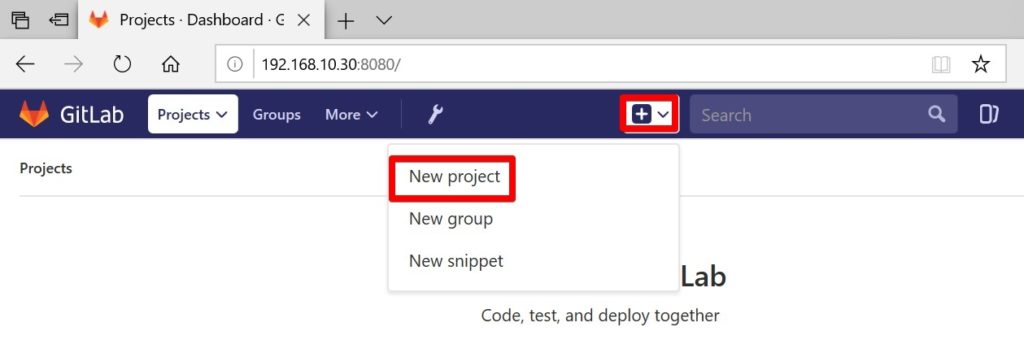
Gitlabのプロジェクトを作成して、CIのための準備をします。
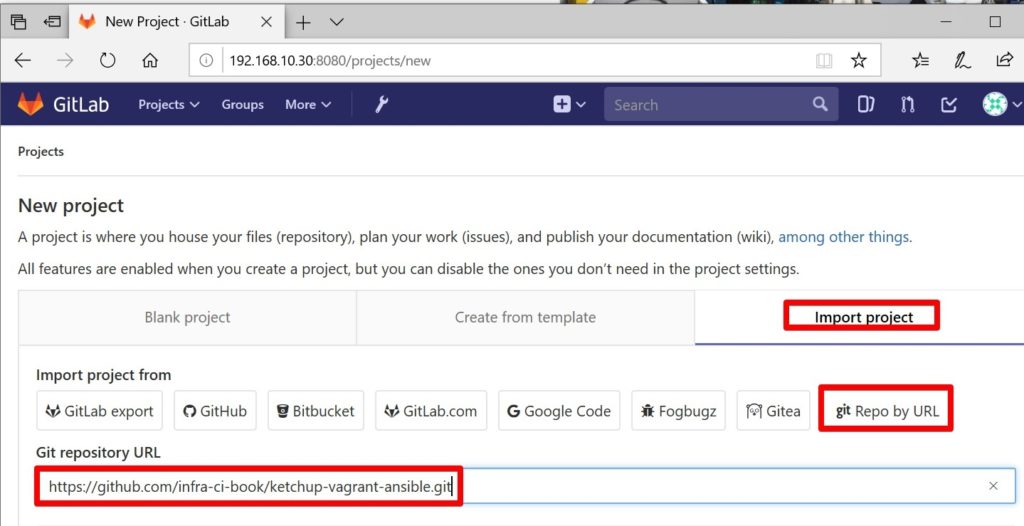
Gitlabにrootでログオンしてから新規プロジェクトを作成します。
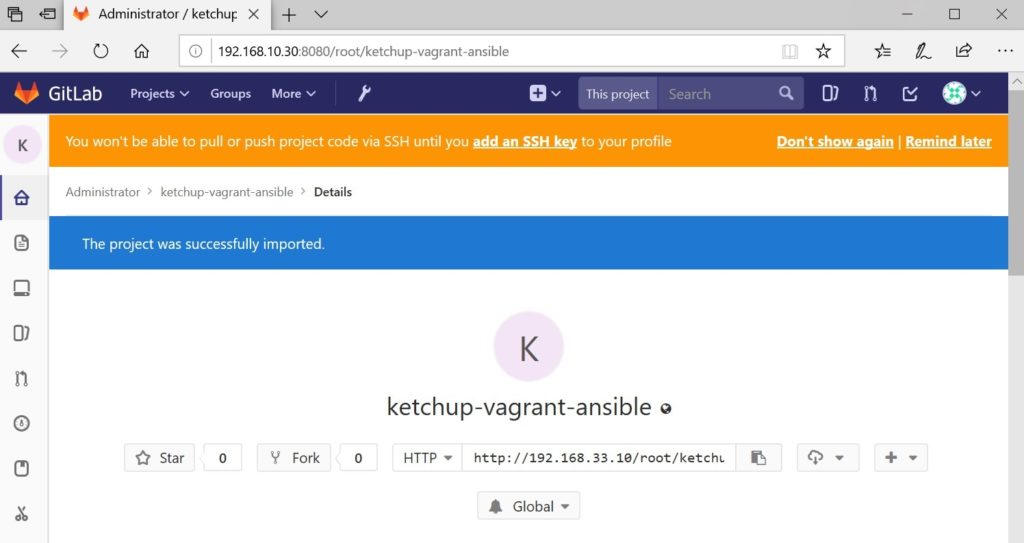
github上にあるリポジトリ「https://github.com/infra-ci-book/ketchup-vagrant-ansible.git」からプロジェクトをインポートします。
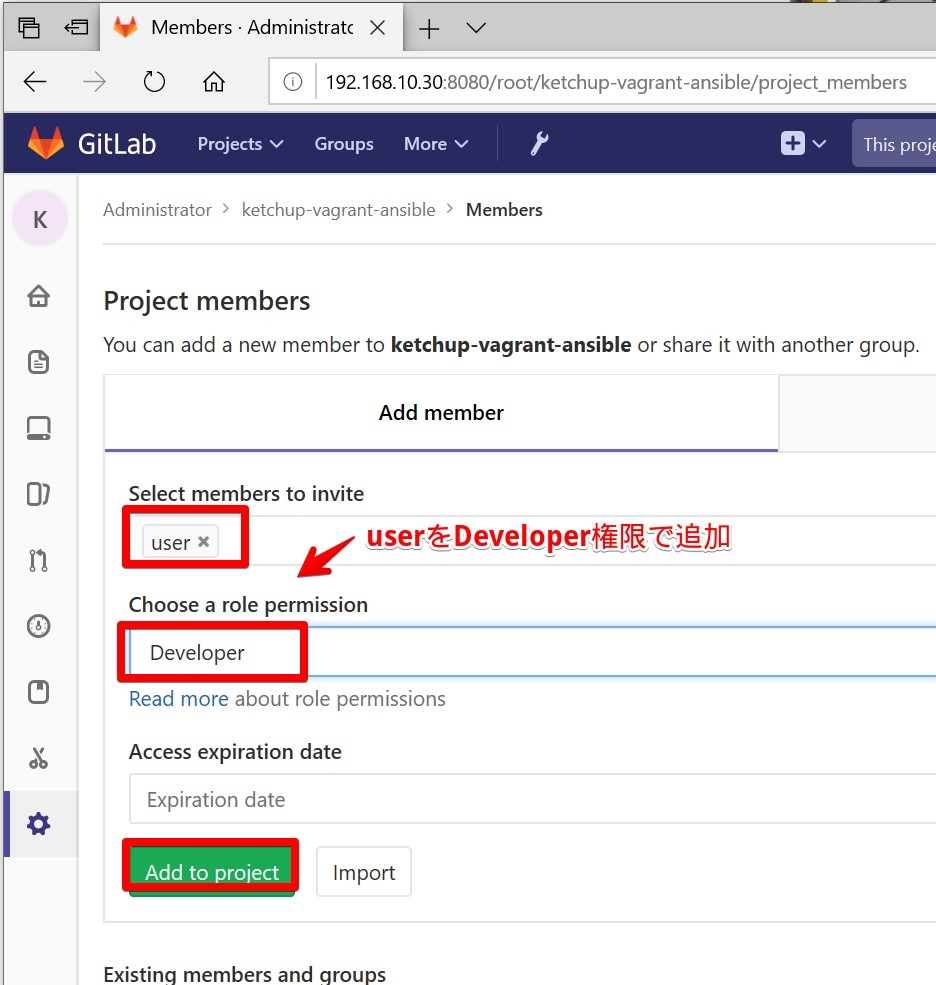
プロジェクトにメンバを追加します。
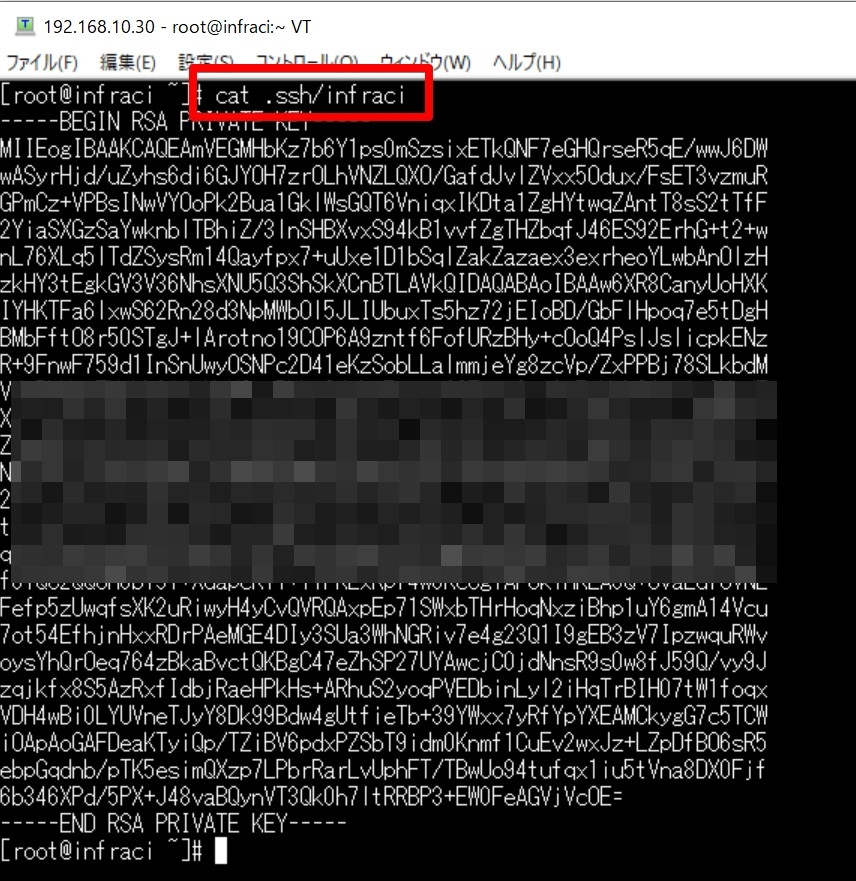
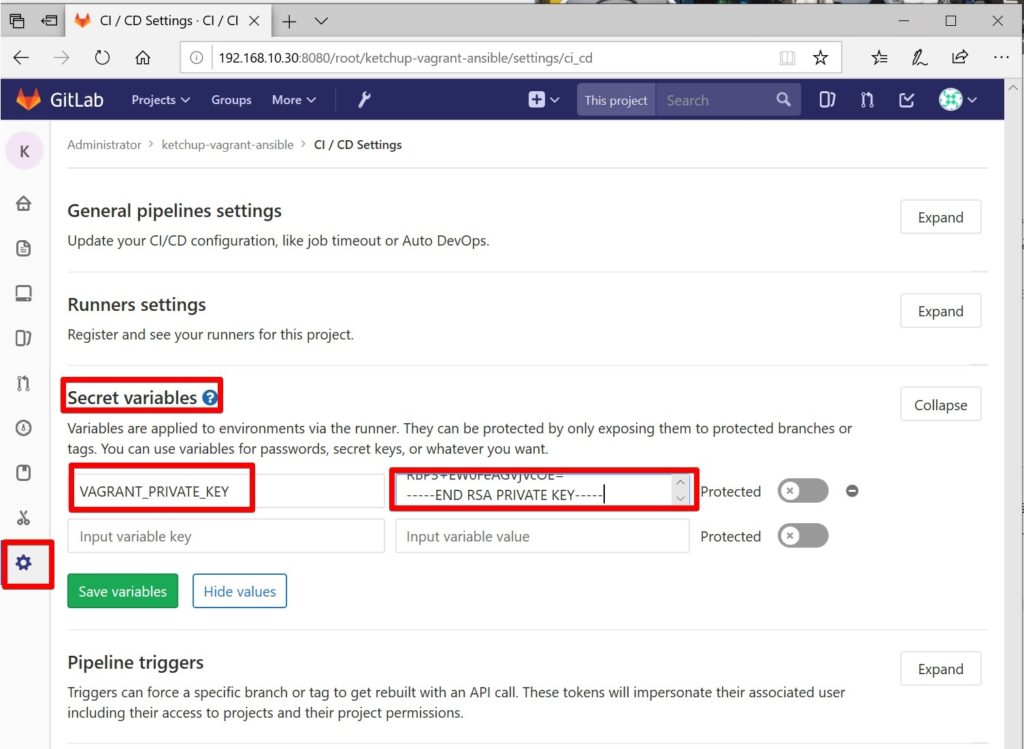
すでに作られているsshの秘密鍵を確認して、プロジェクトで利用できるように貼り付けます。
4.1.2 パイプラインの実行
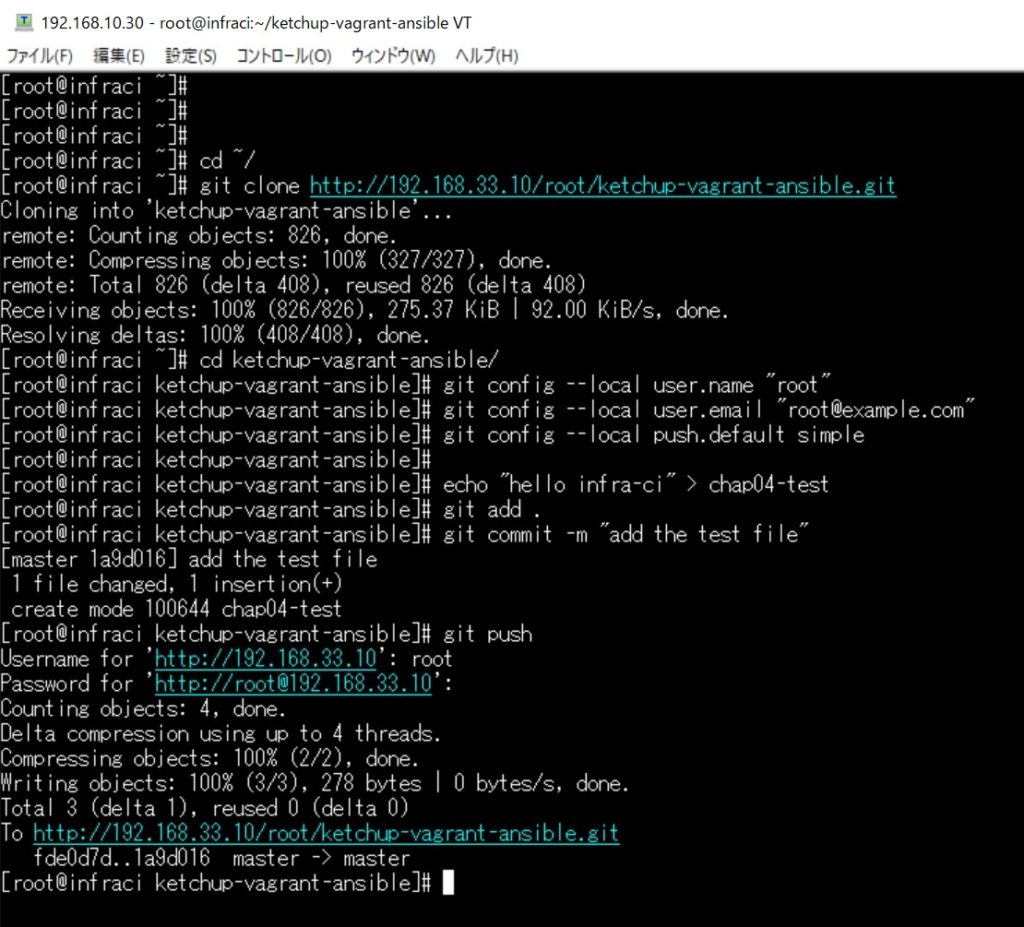
次にパイプラインを実行します。先ほど作成したプロジェクトをCentOSホスト側にCloneします。
[root@infraci ~]# cd ~/
[root@infraci ~]# git clone http://192.168.33.10/root/ketchup-vagrant-ansible.git
Gitの設定をしてから、新規ファイルを作成してリポジトリにpushします。
[root@infraci ~]# cd ketchup-vagrant-ansible/
[root@infraci ketchup-vagrant-ansible]# git config --local user.name "root"
[root@infraci ketchup-vagrant-ansible]# git config --local user.email "root@example.com"
[root@infraci ketchup-vagrant-ansible]# git config --local push.default simple

[root@infraci ketchup-vagrant-ansible]# echo "hello infra-ci" > chap04-test
[root@infraci ketchup-vagrant-ansible]# git add .
[root@infraci ketchup-vagrant-ansible]# git commit -m "add the test file"
こんな感じです。
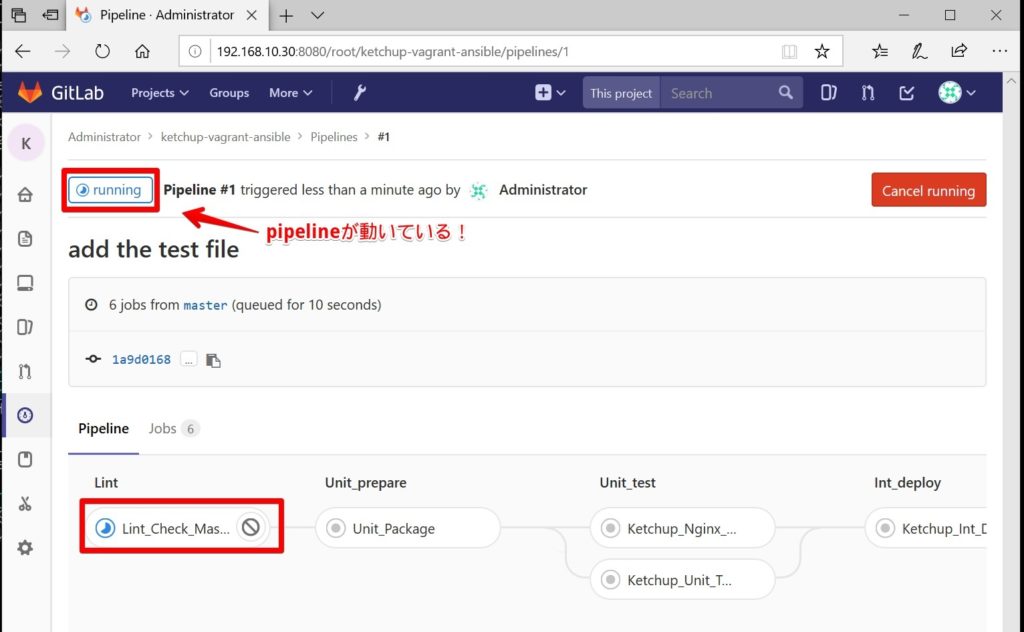
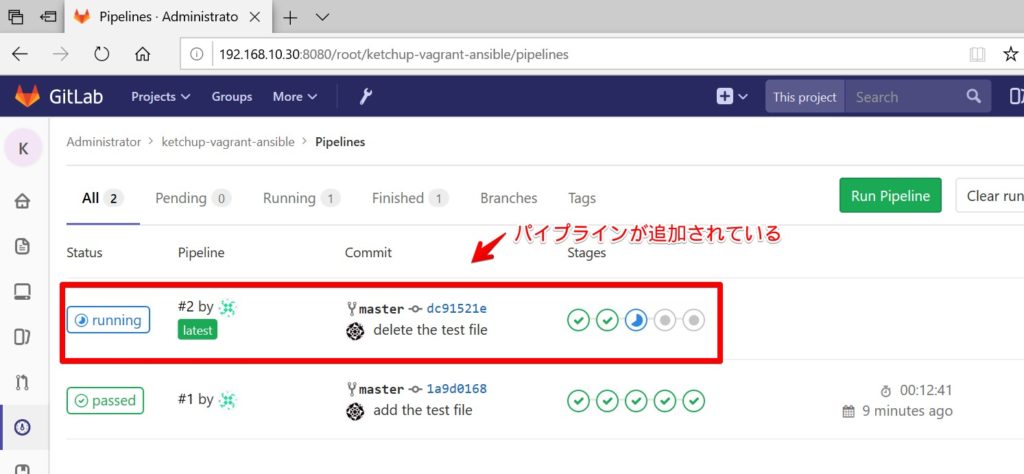
GitlabにログオンしてプロジェクトのCI/CDのpilelineを確認すると動いている(runnningになっている)のが確認できます。完了するまで12分くらいかかりました。
次に先ほどのファイルを削除してみます。git rm コマンドを使ってファイルを削除してます。
[root@infraci ketchup-vagrant-ansible]# git rm chap04-test
[root@infraci ketchup-vagrant-ansible]# git commit -m "delete the test file"
[root@infraci ketchup-vagrant-ansible]# git push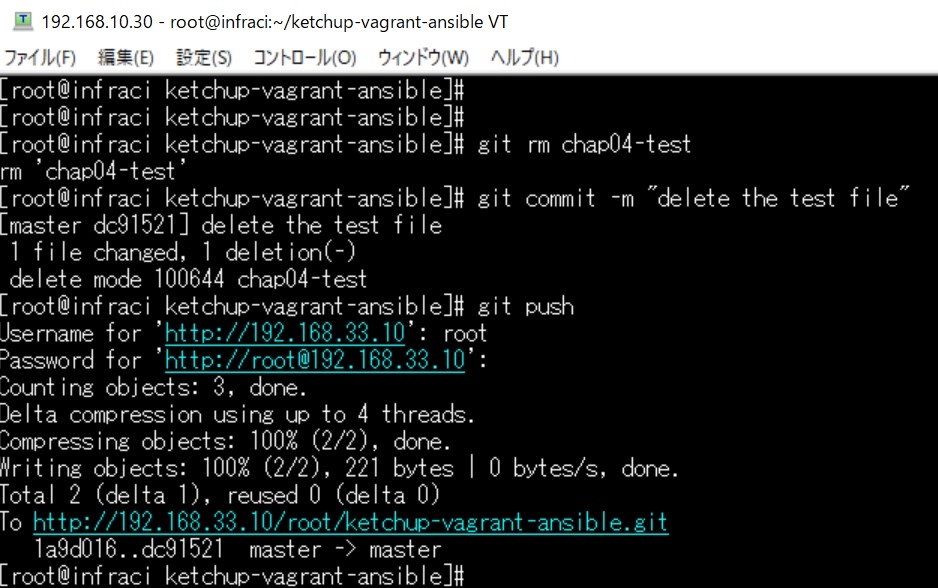
再度パイプラインが走っていることを確認します。
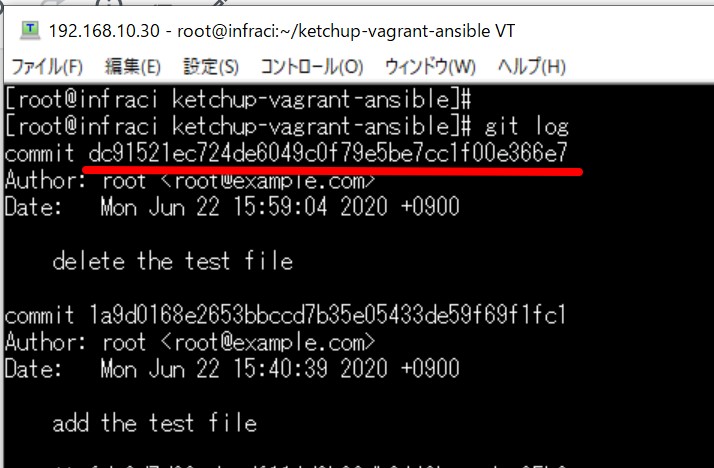
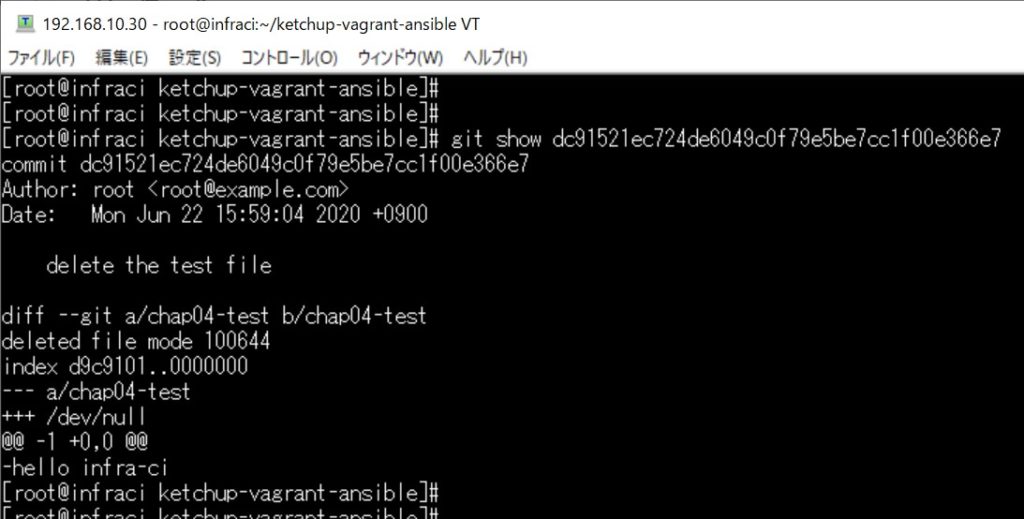
4.1.3 変更履歴の確認
Gitでの変更履歴の確認です。
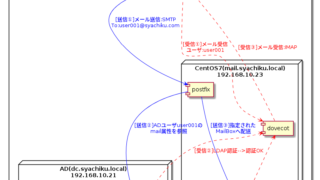
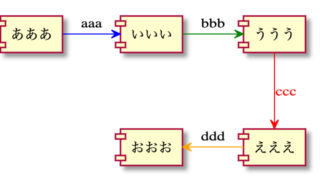
この後は今後の演習のシナリオの解説がされてます。本番環境とテスト環境のチームが分離していて、本番環境が責任分離点という感じです。
今回は以上となります。


コメント